Monday, December 15, 2014

How to Make a Card from Scraps

Hi there!  Please check out my first post on the Creative Team for Scrap Your Scraps!  It's a wonderful blog where you will find lots of great ideas for using your scrapbooking and crafting supplies.  Thanks for visiting, and please come back soon.

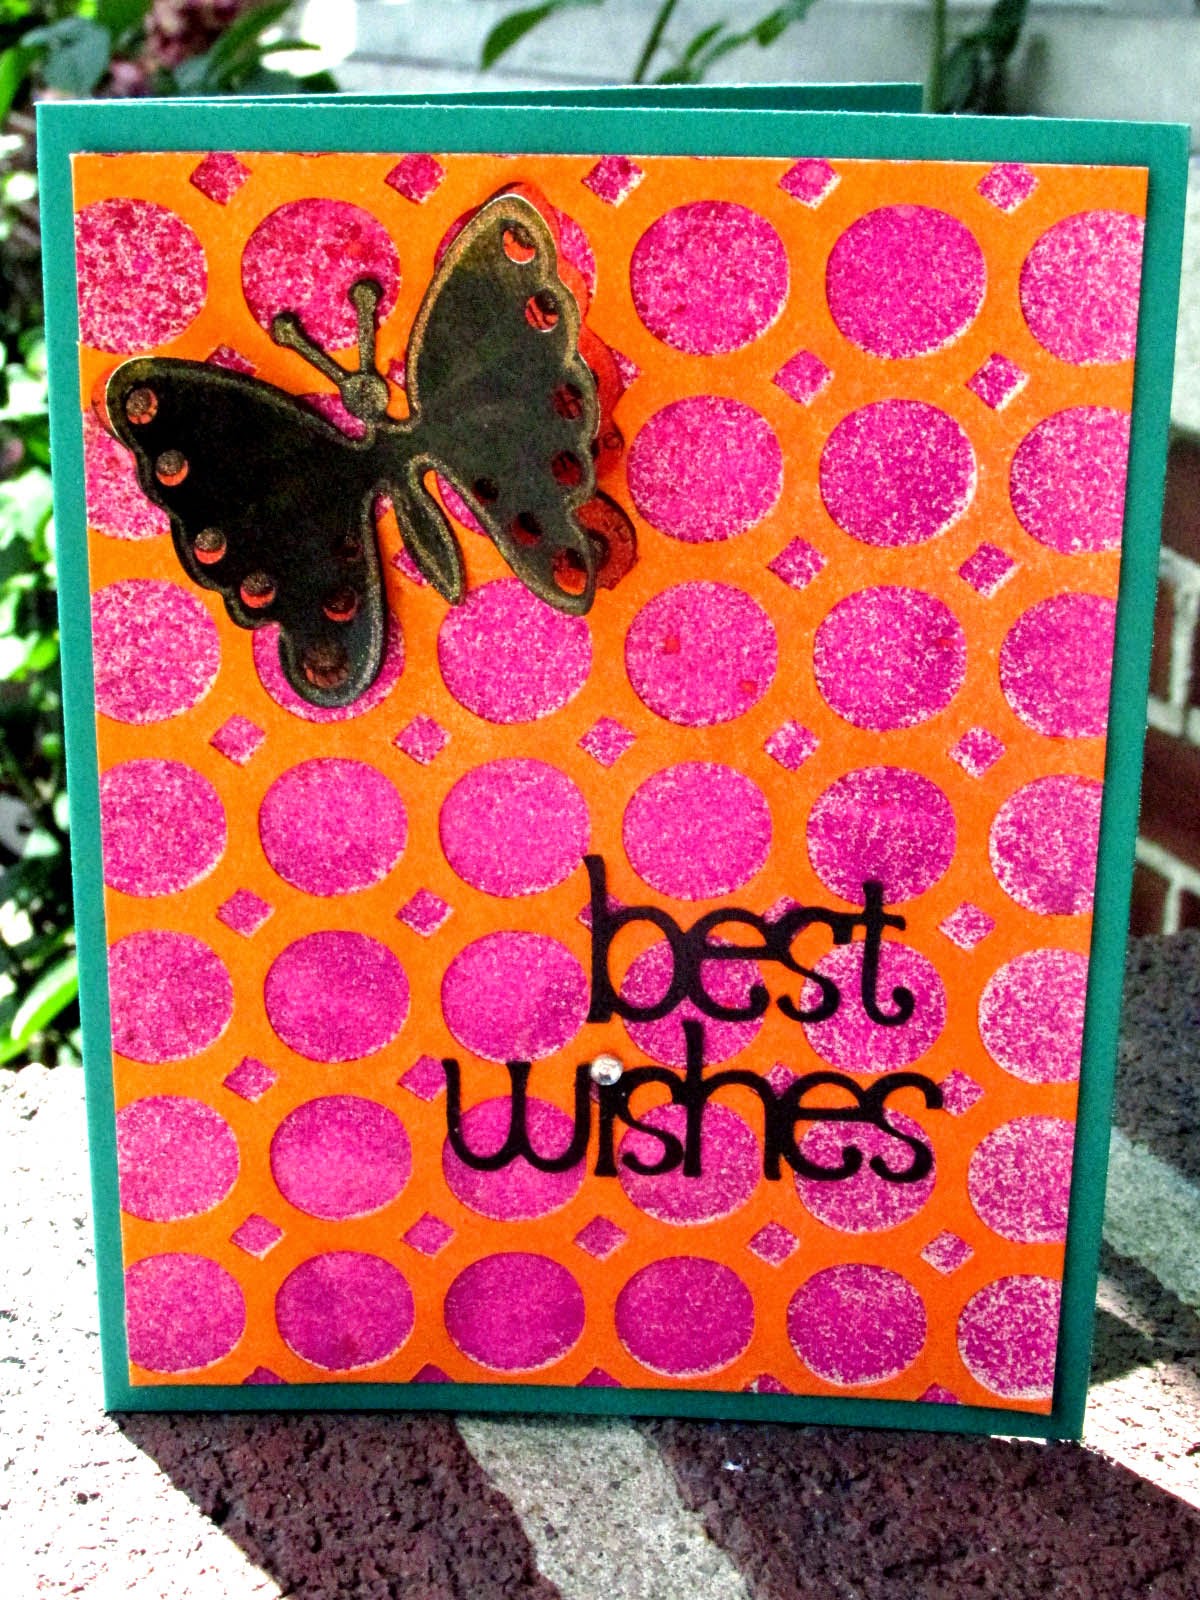
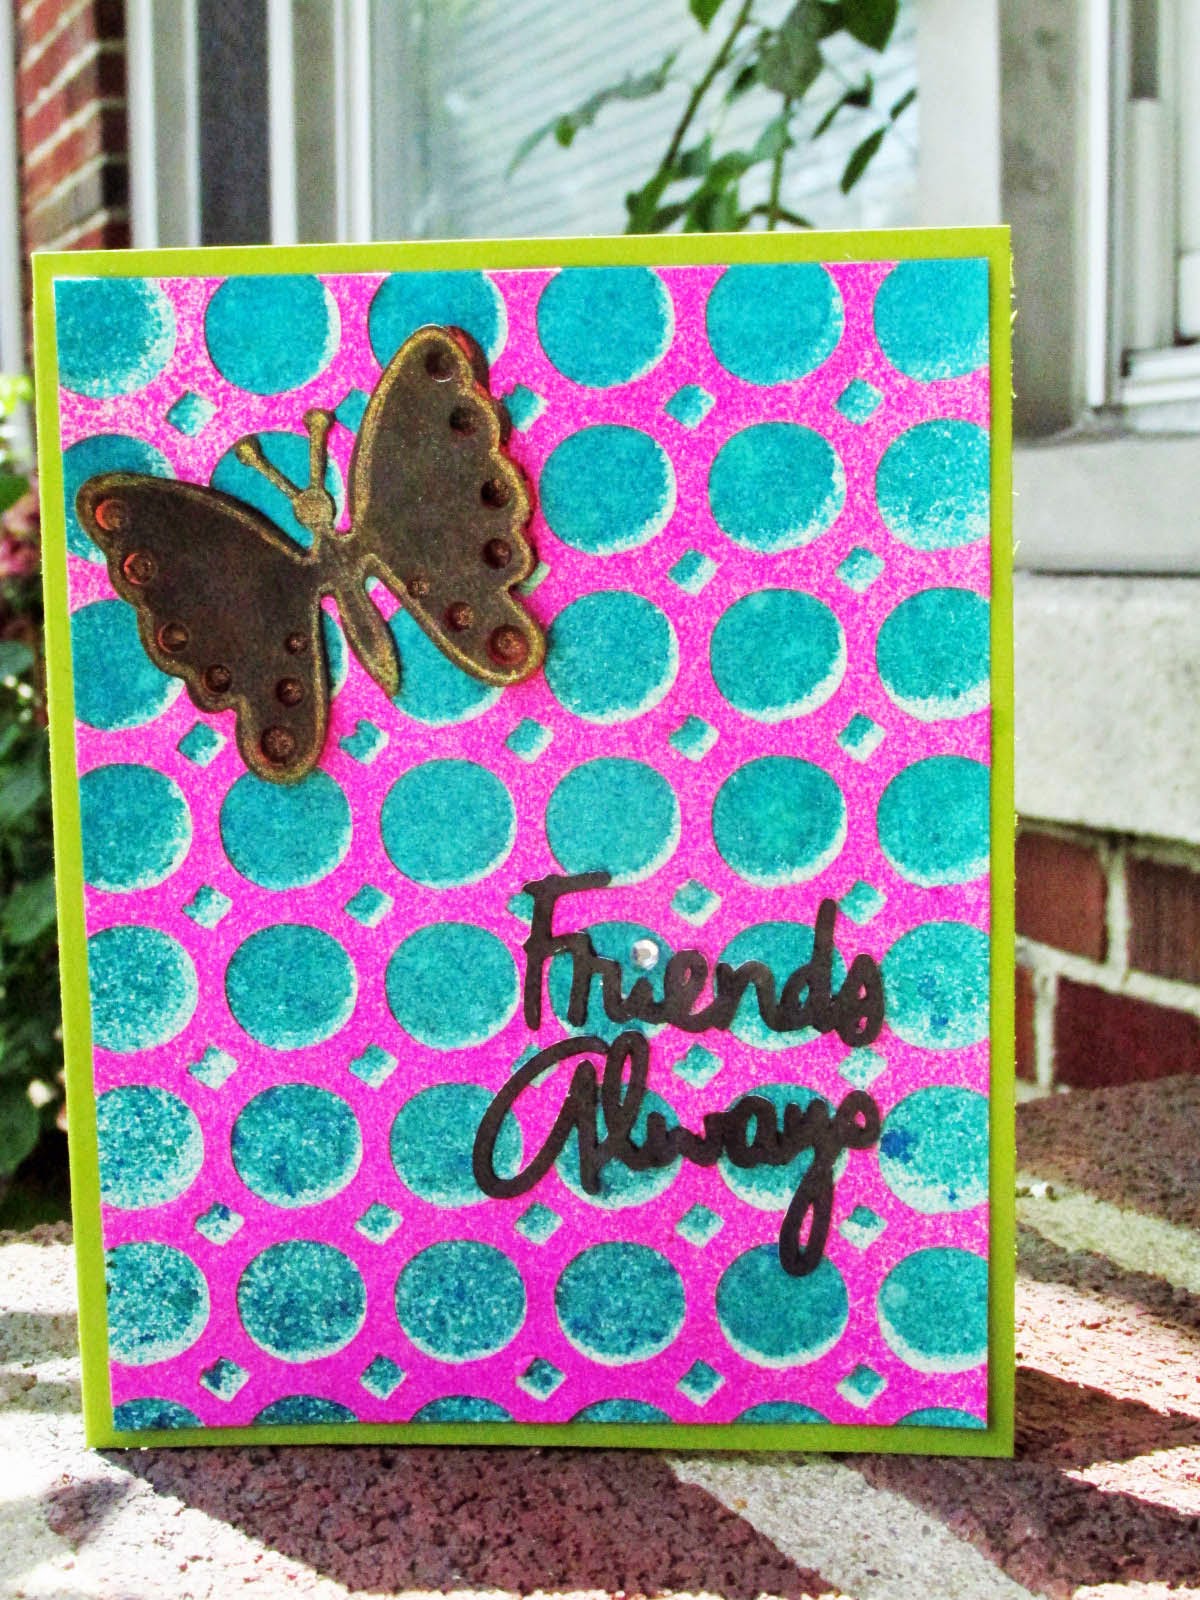
How to Make a Card From Scraps


(In the spirit of the “use what you have” theme of this article, I’ll let you in on a little secret.  This is an updated version of an article that I wrote earlier this year.  It is so appropriate for not only this time of year, but any time you want to use up some of those scraps and “extras” that you have hanging around in your stash, that I wanted to share it with you this month.)

******************************************************************************

You know you have them.  I have them too.  We all have them.  They seem to mock us from our scrapbook drawers, bins, baskets, and paper holders.   I’m talking, of course, about paper scraps.  Yes, those leftovers from scrapbook pages, cards, and other paper projects that we just can’t bear to throw away.  We have to keep them because we paid good money for that paper, or because we don’t like to waste things, or because of a dozen other reasons.  In any case, let’s just put those little bits of loveliness to use, shall we?


Here is what you will need to make a card from scraps:

·         Cardstock cut to desired size  (I used a piece that is 4 ¼ x 5 ½ inches when folded in half.)
·         Sheet of printer paper or other scrap paper cut to the same dimensions as your card base  (In my case, it was 4 ¼ x 5 ½ inches.)  We will trim this to a smaller size later.
·         Scraps of paper or cardstock that can be cut into strips
·         Adhesive (Dry works best.)
·         Paper trimmer
·         Sharp scissors
·         Stamped image or other focal image
·         Greeting (optional)
·         Assorted embellishments

1.      Trim your scraps into strips of varying lengths.  You will want some wider than others to    create interest.  You will want them a little bit longer than your scrap of printer paper.
2.      Generously apply adhesive to your computer paper.
3.      Beginning at the top, place your strips of paper on top of the adhesive, butting them up against each other to make sure that they are straight.  The strips should overhang on each of the side edges of the paper.
4.      With scissors, trim the strips flush with the paper base.
5.      Using your paper trimmer, trim the background piece that you have created to ¼” smaller than your folded card base.
6.      Adhere the background piece to the card base.
7.      Add your focal image, greeting, and embellishments.

This is a great project to use up all those extra “things” that you have in your stash.  You can also mix in some of your new supplies to jazz things up a little.  Use some of those flair and wood veneer shapes you’ve collected; add a few enamel dots from the piles that you have stuck in a drawer; glue on a couple of sequins that you bought on sale at the craft store.
I hope this has inspired you to grab some of those leftover scraps and supplies and make a card for someone who is special to you.  


******************************************************************************

Happy Holidays, everyone!

Monday, December 1, 2014

Christmas Card with the CUTEST Sequin Tree

Shari Carroll made this adorable card, with the most adorable sequin tree you've ever seen!  I just had to share the video with you:


Tuesday, November 25, 2014

New Creative Team

I'm so excited to have been selected for the newest Scrap Your Scraps Creative Team!  It's a wonderful site, filled with easy, you-can-do-it projects.  And we all like those, right?  Come on over and leave some love.  We have cookies!

Sunday, November 23, 2014

Potholder Organizer

Today I have a guest blogger whom I've asked to share a project she made earlier this week.  It's my daughter Haley (14), and she made this adorable potholder organizer in Girl Scouts this week. Take it away, Haley!

Hey everyone!

So, holidays.  Stressful time, am I right?  The time of year everything's on sale and you end up arguing with a middle age mom over the last monster high doll on the shelf.  Wouldn't it be so much easier to get presents anyone can enjoy, without sticking to the usual gift cards and socks?

Well, that's where this little beauty comes in.


That, my friends, is a portable organizer made from a potholder, six plastic baggies, a button, and a (Totally optional) piece of ribbon.

This makes a great present in sooooo many ways.

1.  Super affordable.  Just one trip to the local dollar store gives you everything you need.

2.  Simple to make.  If you can sew and/or use a hot glue gun, you can make this no problem.

3.  You can customize it to suit everyone on your list.  Use a potholder in someone's favorite color, decorated with flowers for a pick-me-up, or even drawn on by hand with some sharpies.

4.  Useful for anyone.  Your teenage daughter can use it for makeup and hair ties, the family workaholic can store metrocards and cash, your well meaning but kinda nutty aunt can use it for coupons and little candies, etc.

So now that I'm done gushing about how great a gift this is, let's dive into the materials and steps.

MATERIALS

1 Potholder (Super easy to find at the dollar store, ranging in colors and patterns from solids to snowflakes)

1 button (Again, super easy to find.  If, on the off chance, you can't buy one, just take the spare that every button up garment comes with.  Shhhhh, nobody will notice...)

Needle and thread and/or a hot glue gun (I recommend sewing the button and hot gluing the baggies and ribbon, but if you only have one or the other you can make it work.)

6 snack baggies (  If you don't have a box of these in your house, reconsider your life choices and buy a box.  Maybe two.  Definitely two.  Yes, you do need that many.  Trust me.)

Ribbon (Optional, mainly just used to pretty up the finished project.  If you don't have any, no biggie.)

INSTRUCTIONS

1.  Take your potholder and fold it in half, design (If any) facing out.  See where the loop is resting on the potholder (For me it was Santa's boot)?  Mark that with chalk or something.

2.  Sew or glue your button to the marked spot.  Don't worry about being super exact, but make sure the loop can fit over the button securely.  Congrats, you've made the closure!

3.  After reveling in your victory, flip the potholder over.  This is where the baggies will go.

4.  Sew or glue the bottoms of the baggies together in two groups of three.  Tip:  Use a low setting for the hot glue gun.  Not only will it reduce any plastic melting, but you'll spare your fingers a mighty deal of pain in case of any mishaps.

5.  Now to glue or sew them into the potholder.  Take your groups and put one on either end of the potholder, openings facing out.  You can glue them with a little space in the middle or completely together.  If sewing, sew only through the first layer of the potholder.

6.  If you'd like, sew or hot glue a piece of ribbon between the baggie clusters.

7.  Pat yourself on the back for your hard work and reward yourself with a bowl of popcorn and a netflix marathon.

There you go!  A great gift for everyone on your list!  And a homemade one to boot!  

Happy holidays, everyone!  :)

Thank you so much, Haley!  I'm sure you have inspired us all to make some of these adorable - and affordable - organizers for holiday gifts this year.

Sunday, September 28, 2014

How I Put Together a Page Kit

Hi there!  Today I thought I'd share a list of the things I include in my page kits.  It makes gathering my supplies for a scrapbook layout much easier if I follow a checklist.  I hope it helps you too.  Have fun, and remember to be your crafty self!

Creating Page Kits


o   Photos
o   Sketch
o   Patterned paper and cardstock  (3-5 patterned papers and 3 - 4 sheets of cardstock)
o   Specialty papers/transparencies
o   Journaling cards or blocks.
o   Washi tape, ribbon, or twine
o   Embellishments (die cuts, veneer, acetate, chipboard, etc.)
o   Small embellishments (brads, enamel dots, rhinestones, buttons, etc.)
o   Die-cut shapes and/or letters with machine(s).
o   Punch shapes and/or borders.
o   Letter stickers or rub-on letters


Saturday, August 30, 2014

Altered Scraps Art Journaling Page

Hi all!  Here is my latest AJ page, based on a challenge from Art to the Fifth.  The challenge was from a few weeks ago, but I'm not following them in strict order.We were supposed to use our "under paper" or scraps.  I pulled out some scraps, laid down a coat of black gesso, and then went to work.


First I scribbled some Gelatos on the scraps of paper, and then I dipped my finger into a cup of water and blended the colors.  After that, I drew circles in various sizes and cut them out by hand.  Then I glued them to the page with Collage Pauge.  Next I added random dots with my Moonlight pens, doodled on the papers with my Glaze Pens, and finished the background with little dots of glitter.

To make the glitter dots, I drew tiny dots with my Glue Pen, dipped my finger in clear iridescent glitter, and rubbed my fingers over the dried glue.  (The glue remains tacky after it dries.)  Any excess glitter just added to the overall sparkle of the page.  I hand-wrote the phrases using a white Souffle gel pen.

As you can see, when it comes to my art journaling, I like to be free-form with my designs.  I usually hand-draw or stamp imperfectly, and I hand-cut and hand-letter.

Thanks for stopping by!  If you'd like to get your hands on the supplies I used, I've listed them below, along with a link to Amazon.  If you liked this blog entry, please use my affiliate link to purchase these products.  Thanks so much!  Happy Creating!

Gelatos 10 Color And Accessories Gift Set - Faber-Castell

(You can search for other products that I mentioned as well once you're at Amazon.)


Saturday, August 16, 2014

Positivity and Negativity

Here are my pages for the second Tangent for the prompts over at Daisy Yellow Art.


Supplies include:  Artist's Loft (inexpensive Michael's Brand) acrylic paint in Turquoise; Heidi Swapp acrylic paint (very old) in Icee, Cream, Butterscotch, and Crinson; Golden Acrylics white gesso; black Uni-Ball Vision Elite pen.

My husband thinks I'm very "brave" for doing these pages.  My daughter said, "You're not a bad mother."  I think all 3 of us learned something from this prompt.  I know that I'm really getting a lot out of my art journal.  It's a celebration, a reflection, an introspective of my life and the many emotions that I experience on a regular basis.  I guess I'm a complex kind of gal!  :)

Thanks for stopping by!

Saturday, August 9, 2014

Sunburst Art Journal Page

Tammy over at Daisy Yellow Art is running a series of prompts for art journaling inspiration.  I'm a week behind, so here is my page for the first week.  I used a very inexpensive watercolors set that I bought at Michael's.   I love how it turned out!  Let me know if you give it a try, and I'll link to your blog in my next post.  Thanks for stopping by!


Tuesday, June 24, 2014

3-D Camera Box from Canon

I just watched a video on My Craft Channel that shows an adorable 3-D Camera Box available from Canon.

 Here's the video, and I've linked to the project above.  Enjoy!


New Cards in My Etsy Shop!

Hope you can stop by to see them!  JeanettesCraftyPlace I can also make kits for these cards.  Post a comment here if you have any questions or want to order a kit.  They are $3 each.


Thanks for looking, and remember to be your crafty self!

Saturday, June 14, 2014

Father's Day Cards

Happy Father's Day to all of you men out there who make a difference in the lives of others, whether you are fathers, stepfathers,  uncles, godfathers, foster fathers, or other special people who have made a child's life better just by your being in it.

These are just 2 of the Father's Day cards I made for my family.  Some of the supplies I used are:  Distress Ink (Faded Jeans, Broken China, Weathered Wood, Peeled Paint), VersaFine Onyx inkpad, Texture Fades embossing folders, Close to My Heart Artbooking stamp sets, white cardstock, light blue vellum, Tim Holtz gears and mini paper clips, Dyan Reaveley stamp set, hemp.


Friday, June 6, 2014

Class With Tim Holtz!

Class with Tim Holtz was awesome!  We had a great time!  Here are some pictures of my folio:  a work in progress:


And here's the messenger bag he gave away.  We each got one, and it's very cool!


Wednesday, May 14, 2014

Watercolor Art Journaling Page

Would you believe that I used the Michael's brand Artist's Loft watercolor set for this page?  I also added some Twinkling H2Os to add some shimmer too.  I was really impressed with the intensity of the Artist's Loft paints.


Friday, May 2, 2014

Monochromatic Art Journaling Page

Here is my page for the Monochromatic Challenge at Art to the 5th.   I used Heidi Swapp acrylic paints and Dylusions spray inks.  Then I stamped with Archival Jet Black ink and added Golden's molding paste.  This page was even more challenging for me because the colors I used are out of my "go-to" colors (blues and purples).  Thanks for stopping by!


Monday, April 7, 2014

How to Make a Shaped Card

I've got a new video on YouTube!  I hope you enjoy it.  Thanks for visiting, and have a great day.

Saturday, March 22, 2014

Making the Most of Double-Sided Paper

Patterned paper has gotten very expensive.  I frequently pay over a dollar for a sheet of patterned paper.  The upside of that is that most of the patterned papers I buy are double-sided.  The downside is that I want to use both sides, and I can't afford to buy 2 sheets of every double-sided patterned paper I like.  I came across this video on My Craft Channel that's all about conserving your paper so that you can use both sides - even on the same layout.  I hope you enjoy it!

Until next time:  Remember to be your crafty self!

Saturday, March 8, 2014

Braids That Stay Put

Do you make jewelry?  Have you ever tried to braid a necklace, only to have it unravel on you?  Here's a great tip from My Craft Channel (It's not MINE; it's just the name of the site).  I hope you'll find it as helpful as I did.


Thursday, February 27, 2014

Saturday, January 25, 2014

Make a Card from Scraps!

Happy New Year, everyone - even though I'm a little late!  :)  I hope this month is going well for you, and that you are dealing with this severe weather we've been having without too much trouble.  Since one of my goals for 2014 is to use more of what I have, I thought I'd kick things off with an article about how to make a card using your scraps.  I hope you like it! And please check out my friend Margareta's new site,  Use Your Stash, where you'll find lots of ideas for using what you already have.

How to Make a Card from Scraps
by Jeanette Giancaspro


You know you have them.  I have them too.  We all have them.  They seem to mock us from our scrapbook drawers, bins, baskets, and paper holders.   I’m talking, of course, about paper scraps.  Yes, those leftovers from scrapbook pages, cards, and other paper projects that we just can’t bear to throw away.  We have to keep them because that sheet of paper cost money, or because we don’t like to waste things, or because of a dozen other reasons.  In any case, let’s just put those little bits of loveliness to use, shall we?


Here is what you will need to make a card from scraps:
·         Cardstock cut to desired size  (I used a piece that is 4 ¼ x 5 ½ inches when folded in half.)
·         Sheet of printer paper or other scrap paper cut to the same dimensions as your card base  (In my case, it was 4 ¼ x 5 ½ inches.)  We will trim this to a smaller size later.
·         Scraps of paper or cardstock that can be cut into strips
·         Adhesive (Dry works best.)
·         Paper trimmer
·         Sharp scissors
·         Stamped image or other focal image
·         Greeting (optional)
·         Assorted embellishments
  1.      Trim your scraps into strips of varying lengths.  You will want some wider than others to    create interest.  You will want them a little bit longer than your scrap of printer paper. 


2.      Generously apply adhesive to your computer paper.

3.      Beginning at the top, place your strips of paper on top of the adhesive, butting them up against each other to make sure that they are straight.  The strips should overhang on each of the side edges of the paper.

4.      With scissors, trim the strips flush with the paper base.

5.      Using your paper trimmer, trim the background piece that you have created to ¼” smaller than your folded card base.
6.      Adhere the background piece to the card base.
7.      Add your focal image, greeting, and embellishments.


This is a great project to use up all those extra “things” that you have in your stash.  You can also mix in some of your new supplies to jazz things up a little.  I used up some strips of paper left over from the past few layouts I made, along with a card base that was in a color that I wasn’t crazy about.  But it worked!  Although I used a printed picture of a Minion from Despicable me, and I printed the greeting, I added Glossy Accents that I’ve had for years and glitter that I’ve had for almost 2 years.   It felt so good to use up my stash and make something I love for someone I love.  (I did flatten out the greeting after I took the photo, because it was really annoying me.)


I hope this has inspired you to grab some of those leftover scraps and supplies and make a card for someone who is special to you.