Showing posts with label cards. Show all posts

Saturday, June 29, 2019

Alcohol Ink Backgrounds

Yesterday I decided to play with my alcohol inks, and I tried some different substrates.   I used Yupo paper, glossy paper, and the front and back of photo paper.  I got the idea to use the back from a video on YouTube.  The woman who made the video said it was very similar to Yupo paper, so I gave it a try.  The glossy side of the photo paper wasn't successful,  The inks didn't move at all, since they were absorbed into the paper very quickly.  The results I got from the regular glossy paper weren't that great either.   Here are the rest of the results, with a description below the photo:


(Please note that I provide Amazon Affiliate Links whenever possible.  Thank you for your support!)

I used Ranger/Tim Holtz alcohol inks in the following colors):  Red Pepper, Valencia, Sunset Orange, Peach Bellini, Sunshine Yellow, Lemonade, Limeade, Citrus, Aqua, Turquoise, Mermaid, Cool Peri, Purple Twilight, Eggplant.  I also tried the Brea Reese alcohol inks in these 3 colors:  Rose, Kelly Green (no link available), and Ocean Green.

The top 2 backgrounds were done on Yupo paper, which I found to be the most successful substrate.  It was easy to move and blend the inks, and I was able to create those beautiful cells that I love so much.  In all the backgrounds, you will see small flecks of Deco Foil that I applied while the ink was still a little tacky.  I used leftover scraps that I had used on other projects, just a dab here and there.

In the next row, the orange background on the left was done on the back of Canon Glossy Photo Paper.  I was surprised at how successful this was.  Although the inks didn't move quite as easily, and they took a little more work, I was happy with the results.  The finish is more matte than that of the Yupo paper.  The second background was done on Yupo paper.

The background (it's actually one cut in half) in the bottom row was made on the back of HP Glossy Photo Paper.  Like the Canon paper, I had to work a little harder with this one, and it was my least favorite.  I did like the end results, but the Alcohol Ink Blending Solution and plain alcohol that I used reacted in a strange way with the coating on the back of the paper.  Some spots were shiny, and others were matte.  Some of the ink also rubbed off, but I buffed the paper with a paper towel when I was done.  No more ink is rubbing off now, and I was able to make the 2 card bases that you see in the photo.

Overall, my favorite substrate to use is still the Yupo paper.  It's the most expensive, but there are cheaper alternatives available on Amazon as well.  The back side of photo paper is a less expensive way to go, especially if you have tons of it like I do.

Play around with different substrates, and see what happens.  You might be pleasantly surprised at the results!  Thanks for visiting, and remember to find a little joy every day.

Saturday, October 6, 2018

Happy World Card Making Day!

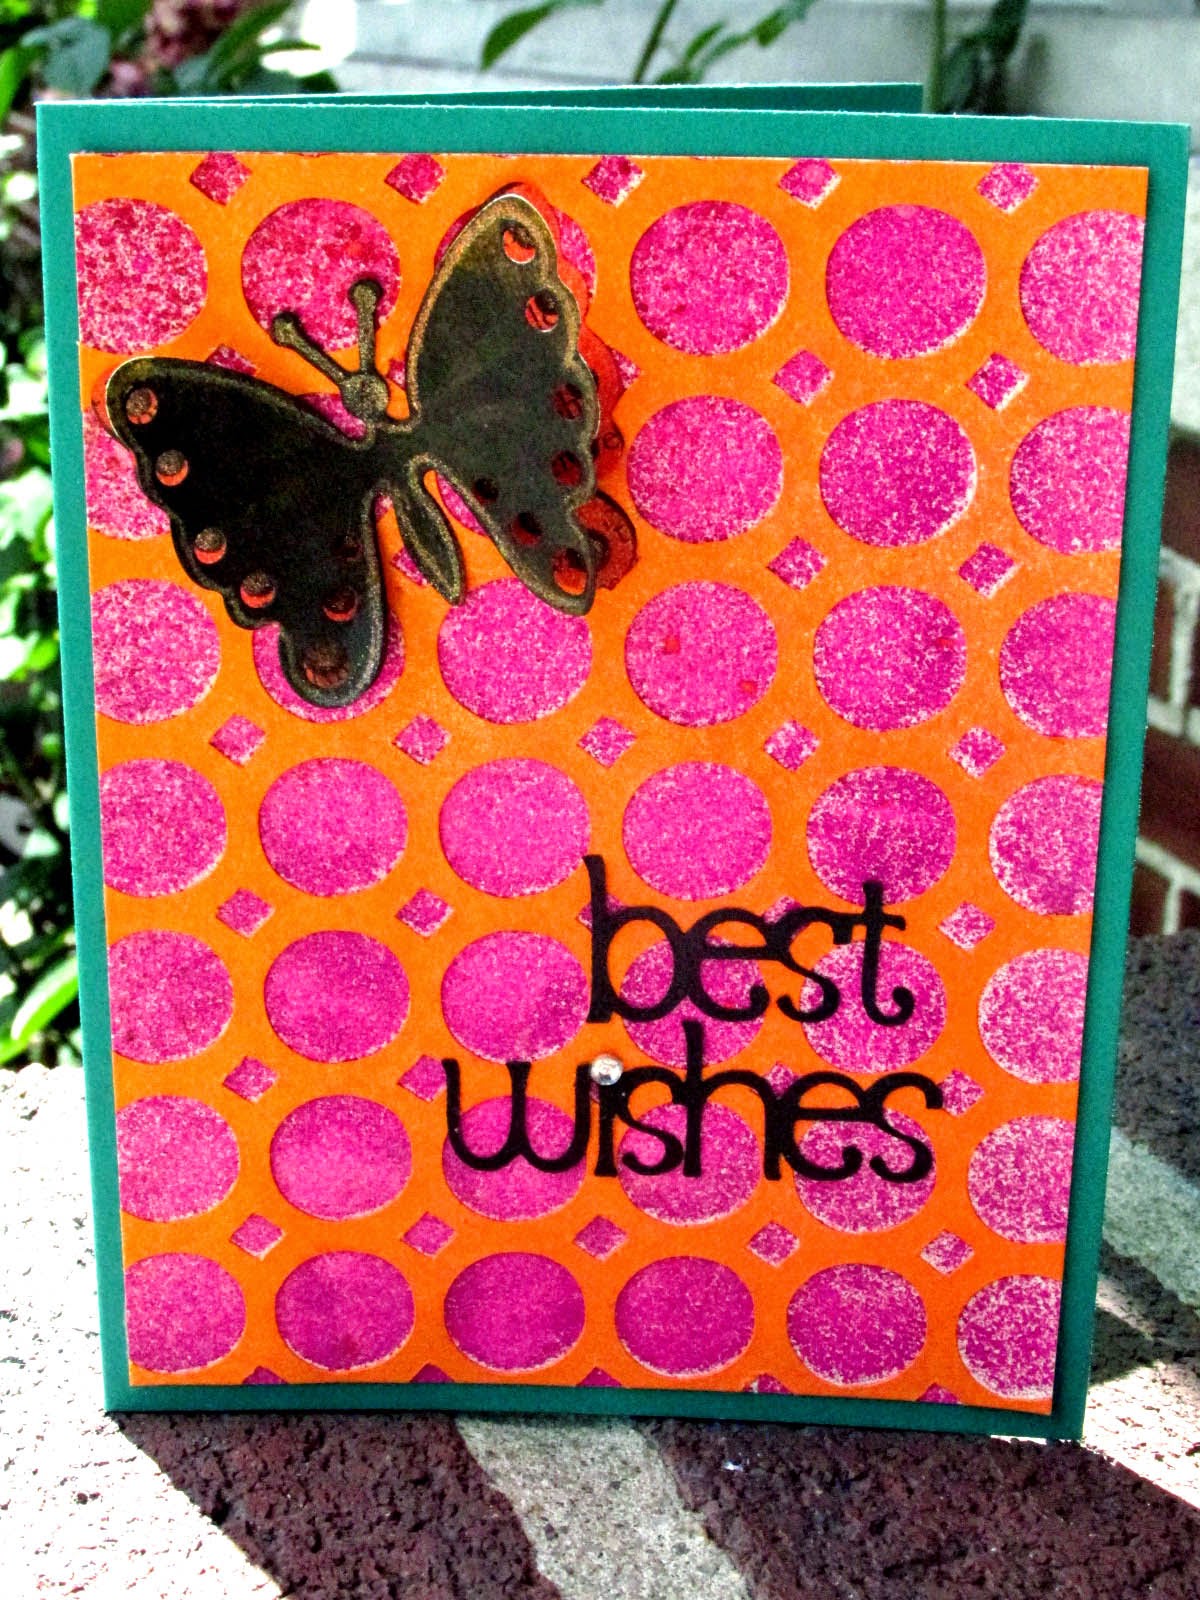
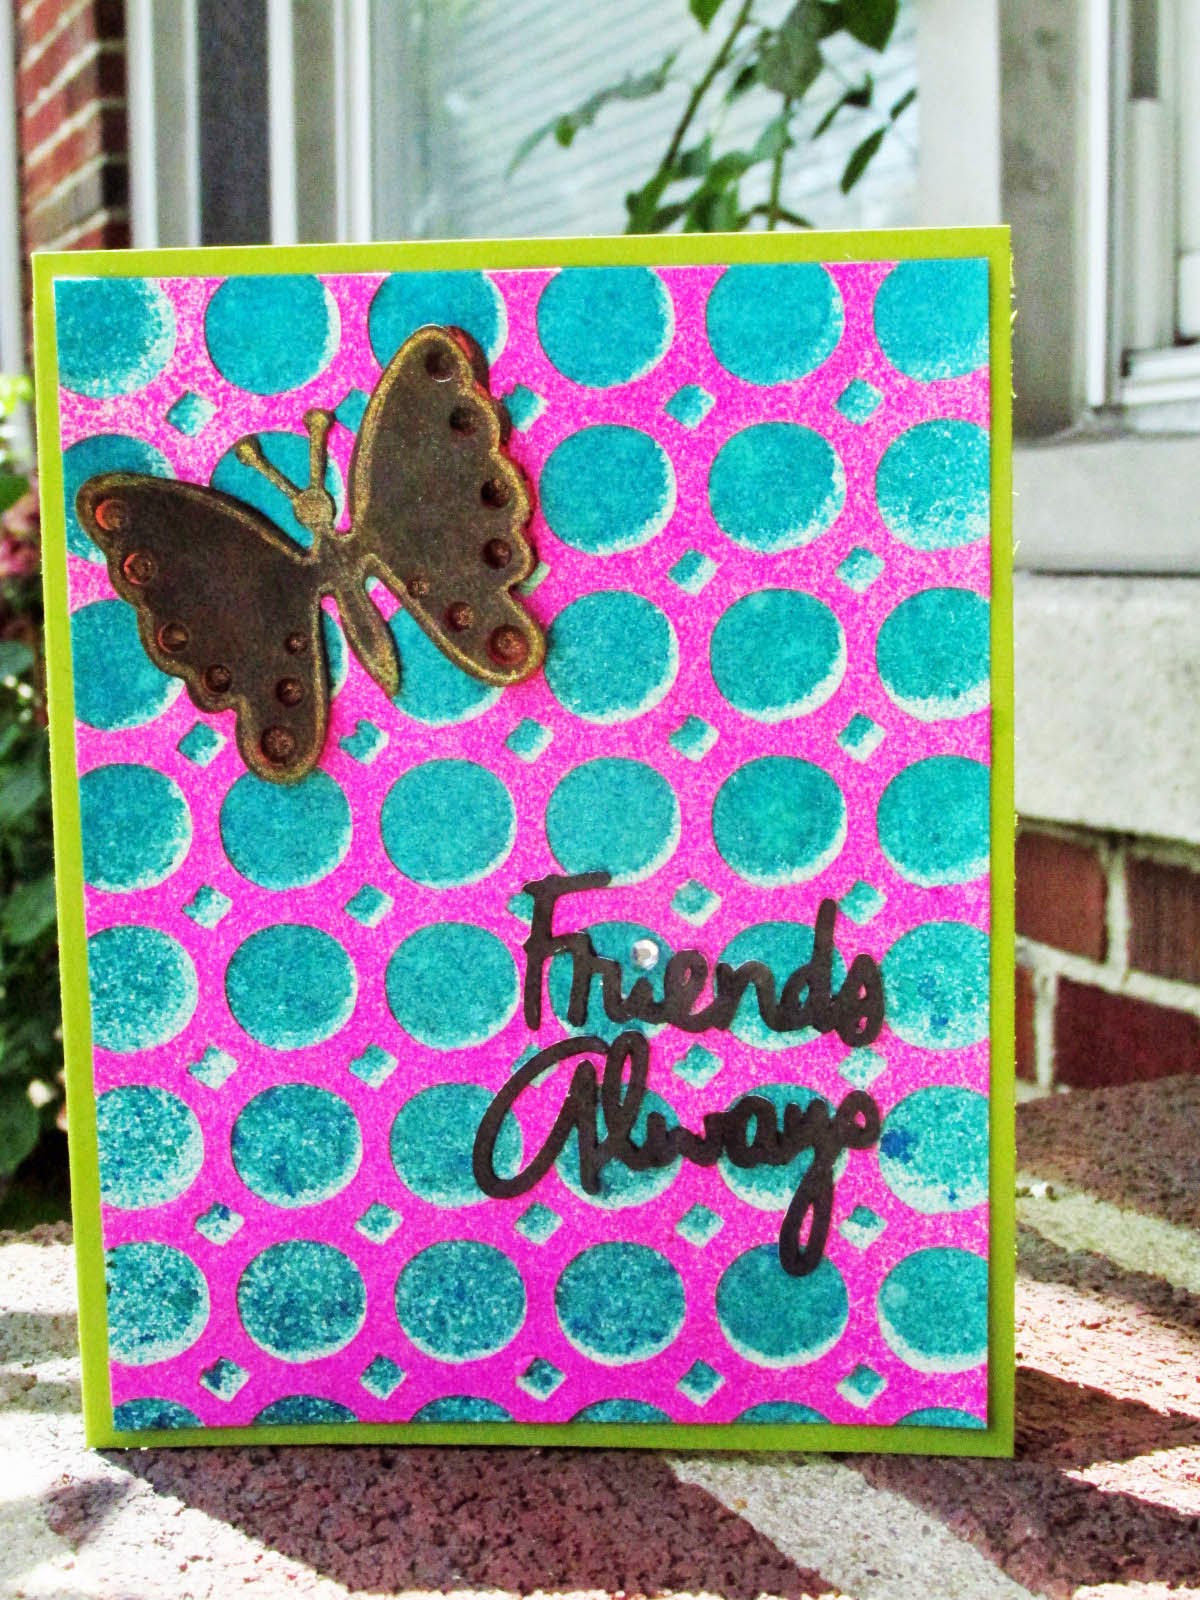
Here are some cards I made in Ken Oliver's class at Scrap-a-Latte in West Babylon, NY, last night.  It was a great class!  You really need to try his inks and stencils.  They're fabulous, and he's a great teacher!  #scrapalatte  #kenoliver


Affiliate links below:


Sunday, July 22, 2018

Watercolor Flowers Card

Here's the card I made for Kristina Werner's Simply Watercolor class, Day 5.  I practiced a lot before I felt comfortable enough to attempt a card, and I threw a few panels away, but that's how you learn.  I finally just held my breath and did it.  I went with it, and I let the flowers and leaves direct where I placed them.  It was a relaxing and freeing experience.  I added a few sequins after I took the photo, but I think you get the idea.

I used Jane Davenport's watercolors in  Brights and Neutrals.  (Note:  Amazon Affiliate links.)

Thanks for visiting!


Friday, June 8, 2018

Color Throwdown Challenge #496

Hi everyone!  This is my card for this week's Color Throwdown Challenge over at the Color Throwdown Challenge Blog.  The challenge this week was to use the colors aqua, black, and white.  This is a shadowbox card that I made using the instructions demonstrated by Jennifer McGuire.  Products are listed below the photo.  Thanks for looking! 


Outside Front


Inside "Box"


Front and Inside


Materials
  • aqua cardstock (2 shades)
  • black-and-white checked/lined cardstock
  • watercolor paint
  • Lawn Fawn So Jelly stamp set  https://amzn.to/2MbZAUC (affiliate link)
  • Nuvo Crystal Drops for the the water bubbles https://amzn.to/2kZHn08 (affiliate link)


Saturday, May 26, 2018

Color Throwdown Challenge #494

Happy Memorial Day Weekend, everyone!  Here is my entry for the #colorthrowdown challenge 494 over at the Color Throwdown Challenge Blog.  The challenge was to use red, white, and blue.  Supplies are listed below.  Thanks for looking, and have a great weekend!


Supplies:  Red, white, and blue cardstock, layered card cutting file from the Silhouette Store, Spectrum Noir glitter pen, vellum, die from Tim Holtz/Ranger

Wednesday, March 15, 2017

Get Well Card for My BFF

One of my BFFs just came home from the hospital, and I wanted to send her a get well card.  Details below the photo.  Thanks for looking!


  • The card base is a pre-made kraft card that I converted into a tent card.  
  • The background is an embossed piece of cardstock that was left over from a gel plate texture print.  I had used the cardstock to pull paint for texture, and I just added a little Twisted Citron Distress Ink to the white parts.  (If I had been using a white card base, I would have left it white.)
  • The stamp set is Sick Turtle, by Inky Antics.
  • I stamped the turtle, bird, and sentiment using VersaFine Vintage Sepia.  (I don't know why mine is so green, but it worked for this card.)
  • I colored the images using Prismacolor pencils and Gamsol.
  • The adhesive dots are very old.  They're made by Cloud 9 (told you they were old!), and I bought them on clearance at JoAnn's a few years ago.
  • The cardstock for the greeting is a left-over piece from another card.  I trimmed it into a banner shape.
  • I popped the images & sentiment up with foam tape.
  • I lightly brushed Mermaid Lagoon Distress Ink onto the background of the image. using a makeup brush.
ETA:  The back says, "Hope your recovery is speedy."  :)

Saturday, May 28, 2016

I'm BAAAACK! + It's a Wine Kind of Day

Well, it's been ages, hasn't it?  Life has thrown me some curve balls, but I'm definitely still in the game.  Here's a set of note cards that I made for my sister.  We lost our brother to colon cancer a few weeks ago, and there were many days like this.
The products I used are listed below the photo.  Please leave a comment if you'd like to see me do a video about how to make these cards.  Or just leave a comment to say hi, ask a question, or say something nice.  Thanks for visiting, and always remember to be unique!


I used my inexpensive Artist's Loft (a.k.a. Michael's) watercolors, Strathmore 140 lb. watercolor paper, Japanese silver watercolor paint, Versafine Onyx ink, clear embossing powder, and striped washi tape.  Oh, and the stamp is from Michael's and was on Clearance.

Tuesday, April 28, 2015

Tuesday Technique Share

This is one of the best night scenes on a card that I've ever seen.  She is awesome!


Tuesday, June 24, 2014

New Cards in My Etsy Shop!

Hope you can stop by to see them!  JeanettesCraftyPlace I can also make kits for these cards.  Post a comment here if you have any questions or want to order a kit.  They are $3 each.


Thanks for looking, and remember to be your crafty self!

Saturday, June 14, 2014

Father's Day Cards

Happy Father's Day to all of you men out there who make a difference in the lives of others, whether you are fathers, stepfathers,  uncles, godfathers, foster fathers, or other special people who have made a child's life better just by your being in it.

These are just 2 of the Father's Day cards I made for my family.  Some of the supplies I used are:  Distress Ink (Faded Jeans, Broken China, Weathered Wood, Peeled Paint), VersaFine Onyx inkpad, Texture Fades embossing folders, Close to My Heart Artbooking stamp sets, white cardstock, light blue vellum, Tim Holtz gears and mini paper clips, Dyan Reaveley stamp set, hemp.


Saturday, January 25, 2014

Make a Card from Scraps!

Happy New Year, everyone - even though I'm a little late!  :)  I hope this month is going well for you, and that you are dealing with this severe weather we've been having without too much trouble.  Since one of my goals for 2014 is to use more of what I have, I thought I'd kick things off with an article about how to make a card using your scraps.  I hope you like it! And please check out my friend Margareta's new site,  Use Your Stash, where you'll find lots of ideas for using what you already have.

How to Make a Card from Scraps
by Jeanette Giancaspro


You know you have them.  I have them too.  We all have them.  They seem to mock us from our scrapbook drawers, bins, baskets, and paper holders.   I’m talking, of course, about paper scraps.  Yes, those leftovers from scrapbook pages, cards, and other paper projects that we just can’t bear to throw away.  We have to keep them because that sheet of paper cost money, or because we don’t like to waste things, or because of a dozen other reasons.  In any case, let’s just put those little bits of loveliness to use, shall we?


Here is what you will need to make a card from scraps:
·         Cardstock cut to desired size  (I used a piece that is 4 ¼ x 5 ½ inches when folded in half.)
·         Sheet of printer paper or other scrap paper cut to the same dimensions as your card base  (In my case, it was 4 ¼ x 5 ½ inches.)  We will trim this to a smaller size later.
·         Scraps of paper or cardstock that can be cut into strips
·         Adhesive (Dry works best.)
·         Paper trimmer
·         Sharp scissors
·         Stamped image or other focal image
·         Greeting (optional)
·         Assorted embellishments
  1.      Trim your scraps into strips of varying lengths.  You will want some wider than others to    create interest.  You will want them a little bit longer than your scrap of printer paper. 


2.      Generously apply adhesive to your computer paper.

3.      Beginning at the top, place your strips of paper on top of the adhesive, butting them up against each other to make sure that they are straight.  The strips should overhang on each of the side edges of the paper.

4.      With scissors, trim the strips flush with the paper base.

5.      Using your paper trimmer, trim the background piece that you have created to ¼” smaller than your folded card base.
6.      Adhere the background piece to the card base.
7.      Add your focal image, greeting, and embellishments.


This is a great project to use up all those extra “things” that you have in your stash.  You can also mix in some of your new supplies to jazz things up a little.  I used up some strips of paper left over from the past few layouts I made, along with a card base that was in a color that I wasn’t crazy about.  But it worked!  Although I used a printed picture of a Minion from Despicable me, and I printed the greeting, I added Glossy Accents that I’ve had for years and glitter that I’ve had for almost 2 years.   It felt so good to use up my stash and make something I love for someone I love.  (I did flatten out the greeting after I took the photo, because it was really annoying me.)


I hope this has inspired you to grab some of those leftover scraps and supplies and make a card for someone who is special to you.

Thursday, September 13, 2012

New Fall, Halloween, and Winter Items in My Etsy Shop!

Hope you can stop by and check them out!  Be on the look-out for a new video showing how to make one of these items yourself!  Thanks for visiting My Crafty Life, and remember to always be your crafty self.


Tuesday, August 7, 2012

Please Join Me in Helping a Wonderful Cause

This month over at Splitcoast Stampers, the monthly Cards for a Cause challenge is to make cards for the Hospice for St. Francis.  All of the information can be found at Splitcoast by following the link above.  It sounds like a very worthwhile and important cause.  Thanks!

Here are some photos of the cards I sent. (Sorry the photo quality isn't so good.

Wednesday, July 25, 2012

Friendship Cards

I thought I'd share some cards that I made for an upcoming Scrapjazz article that I wrote recently.  All of these cards were made from scraps that I had made in classes or for scrapbook pages/cards.  By layering them together, I was able to create 4 cards and a tag.

Happy creating!


Monday, January 30, 2012

"Artists" and "Designers" : Please Get Over Yourselves

Okay, I just can't take it anymore.  I'm so tired of "artists" and "designers" acting like such prima donnas.  This past week alone, I've read about three divas who just need to get over themselves.  One doesn't want anyone "stealing her pins from Pinterest!"  Now, I don't pin, or Facebook, or Tweet (OK, maybe I tweet a few times a year); but isn't the whole point of Pinterest to share?

On that same message board, I've come across people who don't want you to copy their cards.  Then why are they posted in a public forum for everyone to see?  Once they are on the net, they are fair game.  Now, I wouldn't copy someone else's exact ideas; but there is very little that hasn't been done before.  You can't re-invent the wheel, folks!

The icing on the cake, however, was a reply that a very well-known designer in the card-making field posted in the Comments section of her YouTube video.  Someone had commented that she didn't like the card, and she explained what she would have done differently.  Granted, the woman did sound a bit gruff at first, but she concluded by saying that she really did like all of the other cards that the designer had done, but that this one just wasn't her style.  (Plus, English isn't her first language, so some things didn't come out the way she wanted them to sound.)  Here is what the designer said in response:


 I love this card. :) Wouldn't change a thing. As for the "constructive criticism," you need to sense that criticism is welcome before you say anything. Many artists & crafters would be crushed by your remarks. I've been through design school so it's no big deal to me (especially since I have no idea if you're credible--you have no cards or videos for me to view). I'm just saying be careful what you say. You can quickly become the rude person you don't mean to be.


Wow!  So now we have to be "credible" in order to express that we don't like something?  And what constitutes "credible"?  Does a viewer have to have to make cards and videos to have a valid opinion?  Does someone have to have permission to say she doesn't like something?  Another viewer expressed it best when she said that this designer often responds to negative comments in a defensive, immature way.  My husband added the term "elitist."  I think those three adjectives sum this response up quite well.

I think these prima donnas need to come down off their high horses and realize that not everyone on the planet is going to worship them and everything they do.  Very few concepts are purely original, and they should be flattered that others want to "copy" them.  And you don't have to go to design school to know what you like and what you don't.  Everyone has a right to an opinion, even if it doesn't coincide with yours.

OK, I'll step off my soapbox now.  Now go and make something wonderful so that we can criticize it, pin it, and copy it without giving you credit.  That's what I'm going to do.  :)

Sunday, August 28, 2011

Cute Cards for Kids


Hi everyone!  I hope that everyone has weathered Irene well, and that you are all safe and sound.  We seem to be doing fine, although the wind is kicking up now.

Today I'd like to share with you the details for the cards I showed at the end of my last video.  These cards were inspired by one of Gina K's videos. 

Instead of using sponge daubers to make the circles, I used the Round Designer's Block Cube by JudiKins.  In the centers of the circles, I stamped elements from the Circle Sampler set by The Angel Company.  The adorable dolphin and octopus stamps are from the dollar bin at one of the major craft stores.  I don't remember which one, but the stamps are made by Imaginisce.

I punched the corners with a punch from Fiskars.  For a finishing touch, I added a few small punched flowers and a little ribbon.

Thanks for visiting, and happy crafting!

Wednesday, August 24, 2011

Just Popping In to Say Hi!

Sorry I haven't posted in so long.  I've been busy working.  :)  What a cool store The Ink Pad is!  If you live in or near NYC, you really have to stop in to check it out.  We get new "stuff" in every day.  It's like Christmas!  Here's a heads-up for you too.  I'll be teaching a Christmas Tags class in either November or December, and space is really limited.  I'll post the actual date as soon as it's finalized, which won't be for awhile.  In the meantime, you can check out the other classes that are going on now.  Here's the link:  http://www.theinkpadnyc.com/.